KB: 1075
Generate/Issue SSL certificate using Let's Encrypt
Problem Statement
End-user want to issue trusted SSL certificate using Let's Encrypt for FQDN that configured behind the Haltdos WAF to achive below operation
- Secure communication between client and WAF over public internet
- SSL certificate should be issued from trusted certificate authority
- Secure communication using strong SSL protocol and cipher suites
- Perform SSL Offloading for WAF inspection over HTTPs
Pre-requistics
- FQDN (Fully Qualified Domain Name) should be behind Haltdos WAF (for HTTP challenge) and accessible from public internet.
- Haltdos Console login with minimum READ_WRITE access.
- Connectivity based on challenge as follows
- For HTTP challenge, no geo-filtering policy enforced on the FQDN public IP.
- For DNS challenge, READ WRITE access to DNS console for create TXT record.
- For HTTP challenge, verify no Geo/IP blocking policy on the network and web application firewall to avoid failure of the verification request.
Let's Encrypt issue SSL certificate with validity of 3 months from the date of issue.
SUMMARY
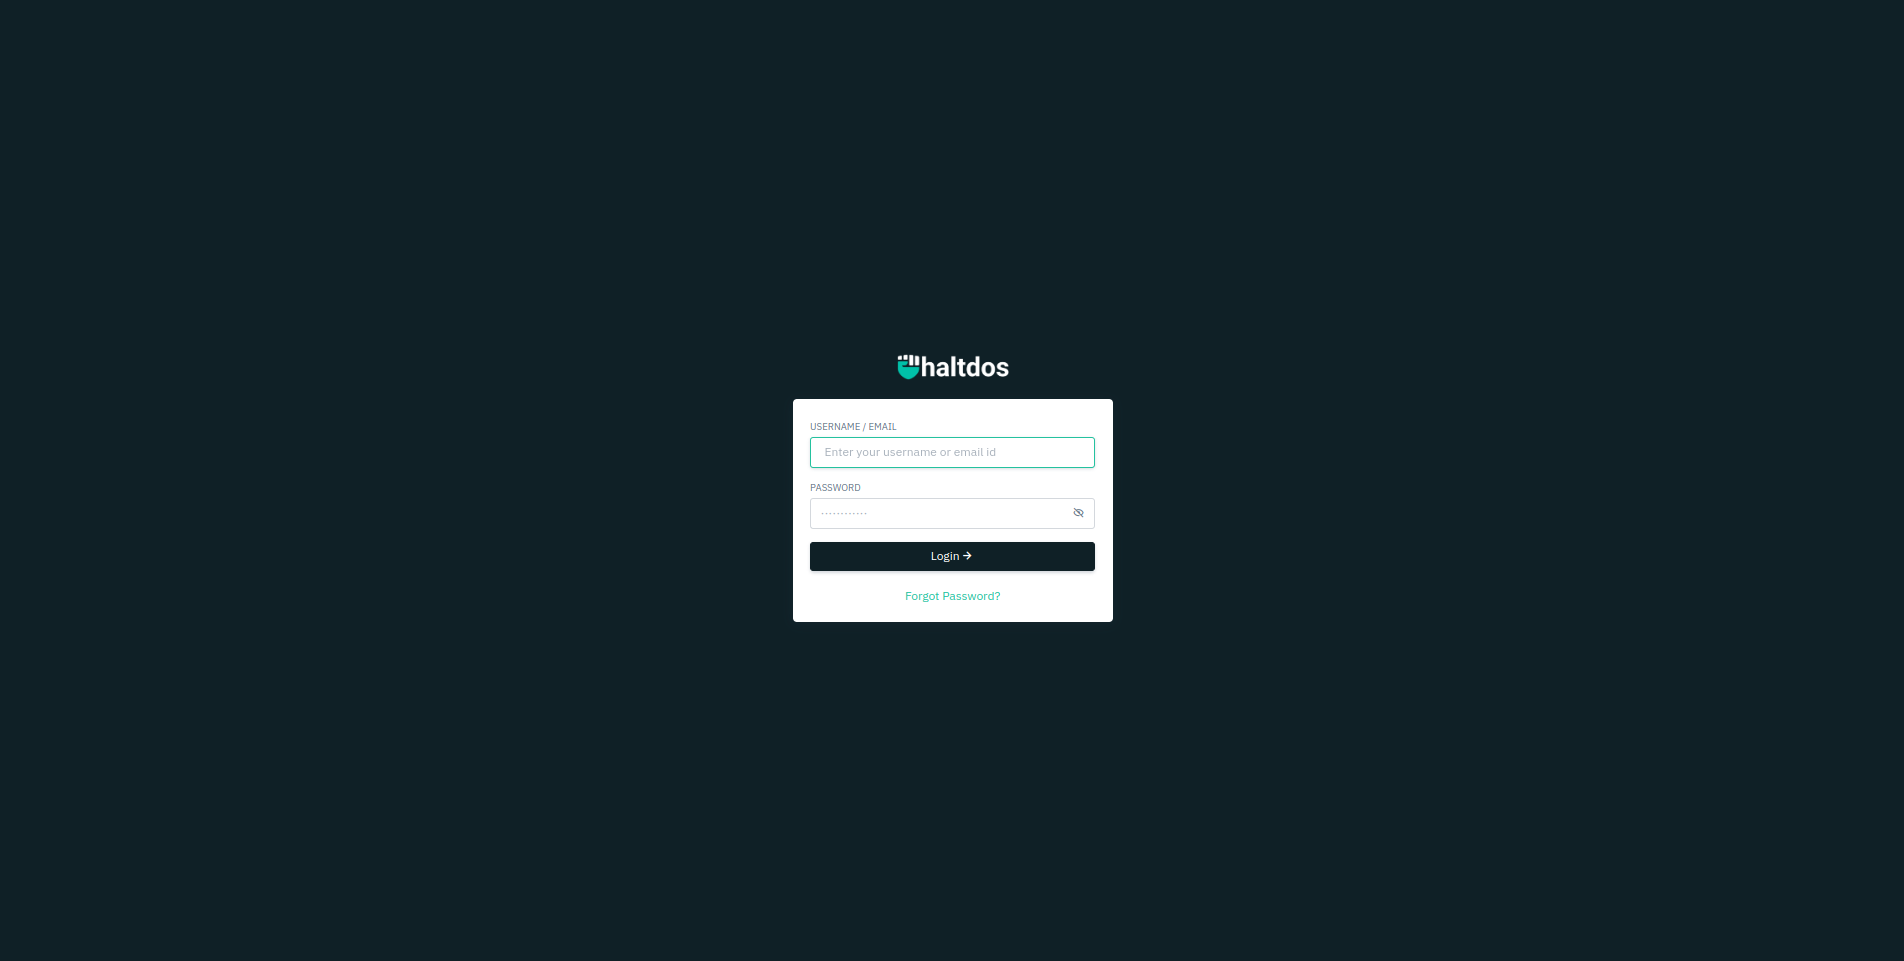
- Login to Haltdos Console
- Create request to generate SSL certificate for FQDN
- Choose Let'ts Encrypt challenge
- Changes for HTTP challenge verification
- Remove changes after challenge verification
- Attach issued SSL certificate
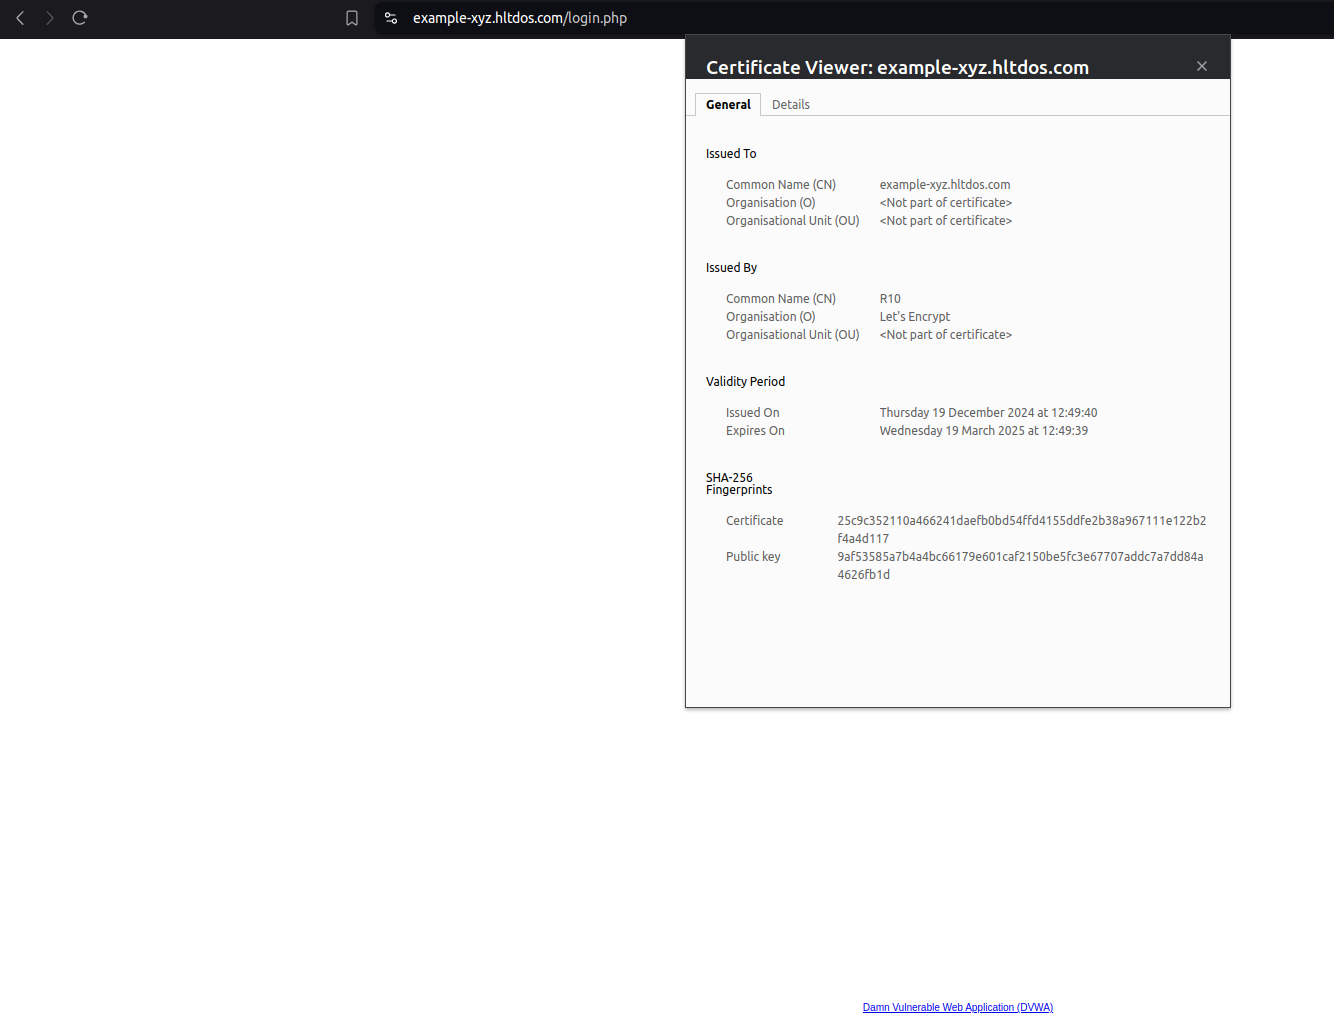
- Verify SSL certificate
Solution
-
Login into Haltdos Console.
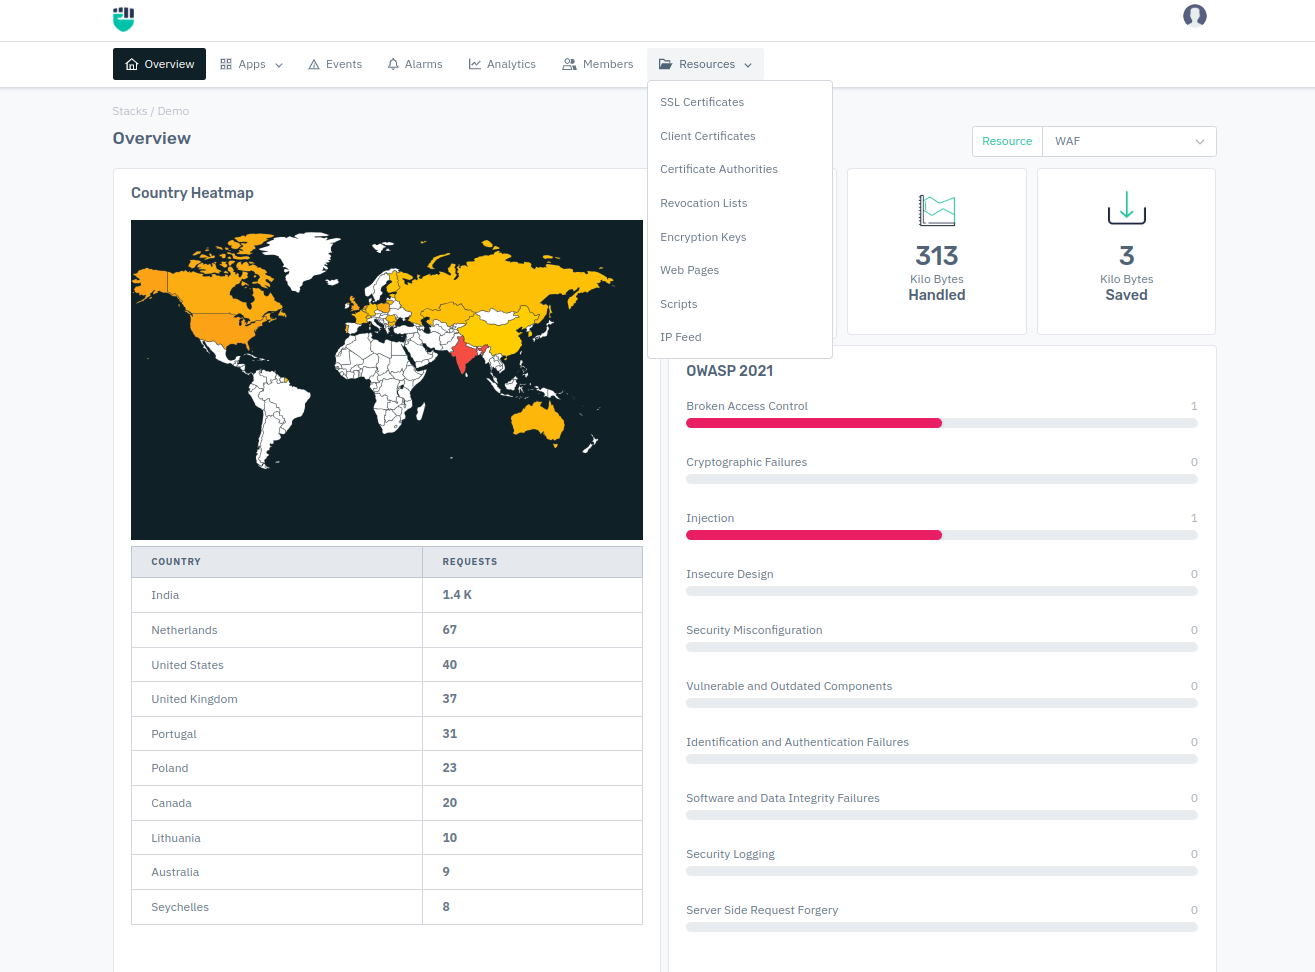
- Go to Stack > Resources > SSL Certificates
-
Create request to generate SSL certificate for FQDN
-
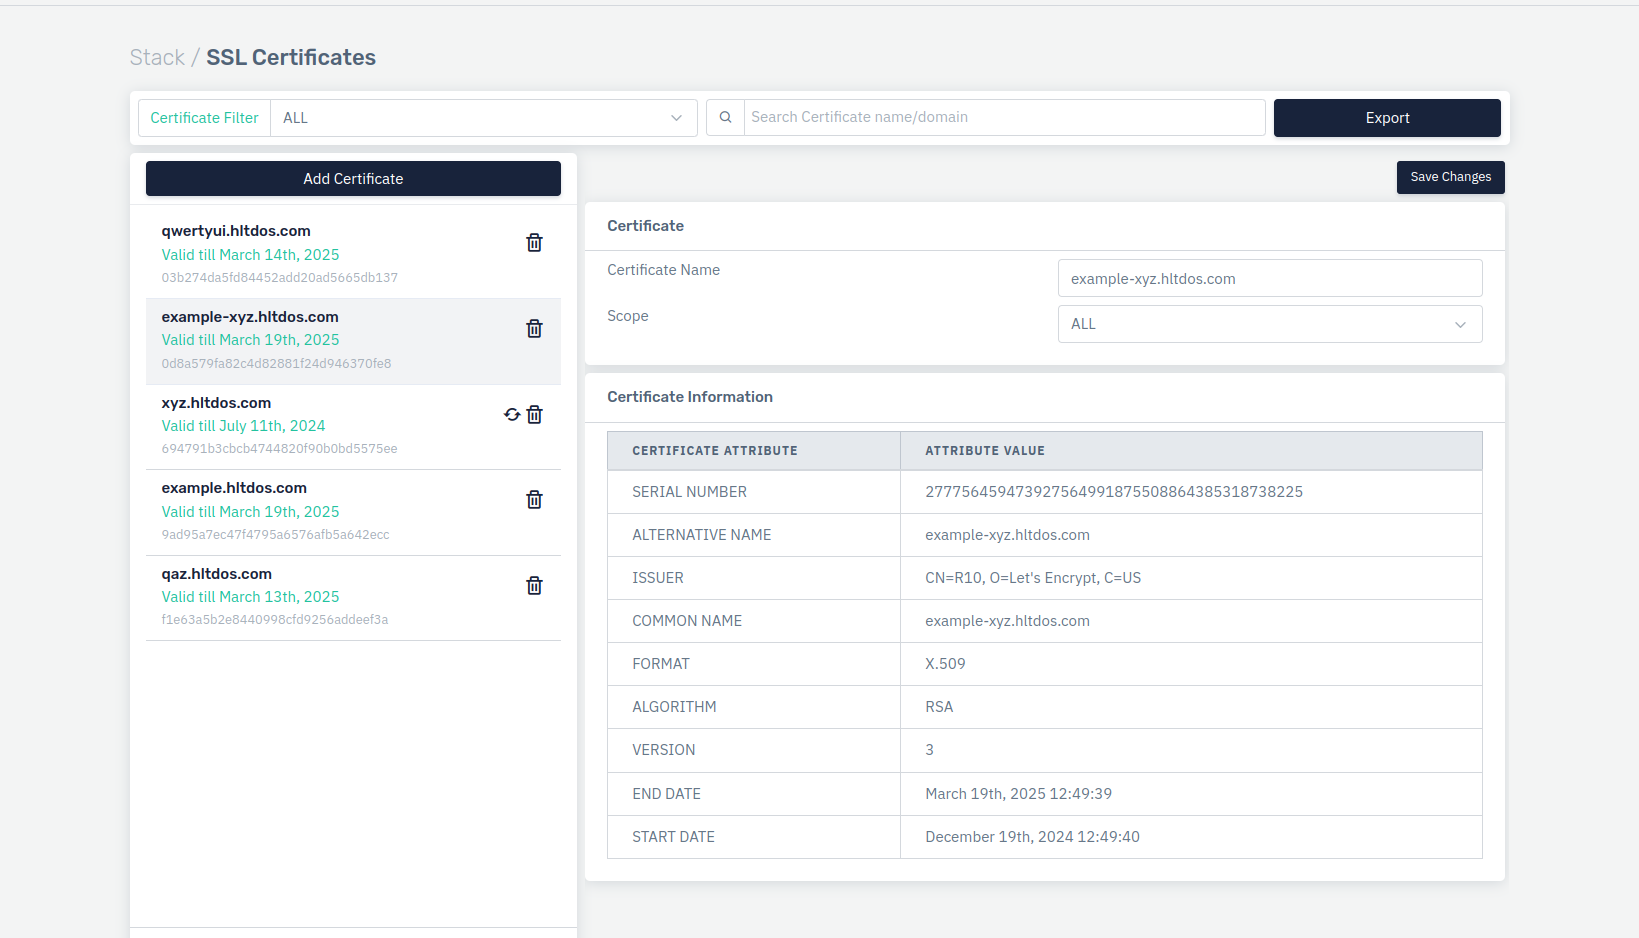
Go to Stack > Resources > SSL Certificate
-
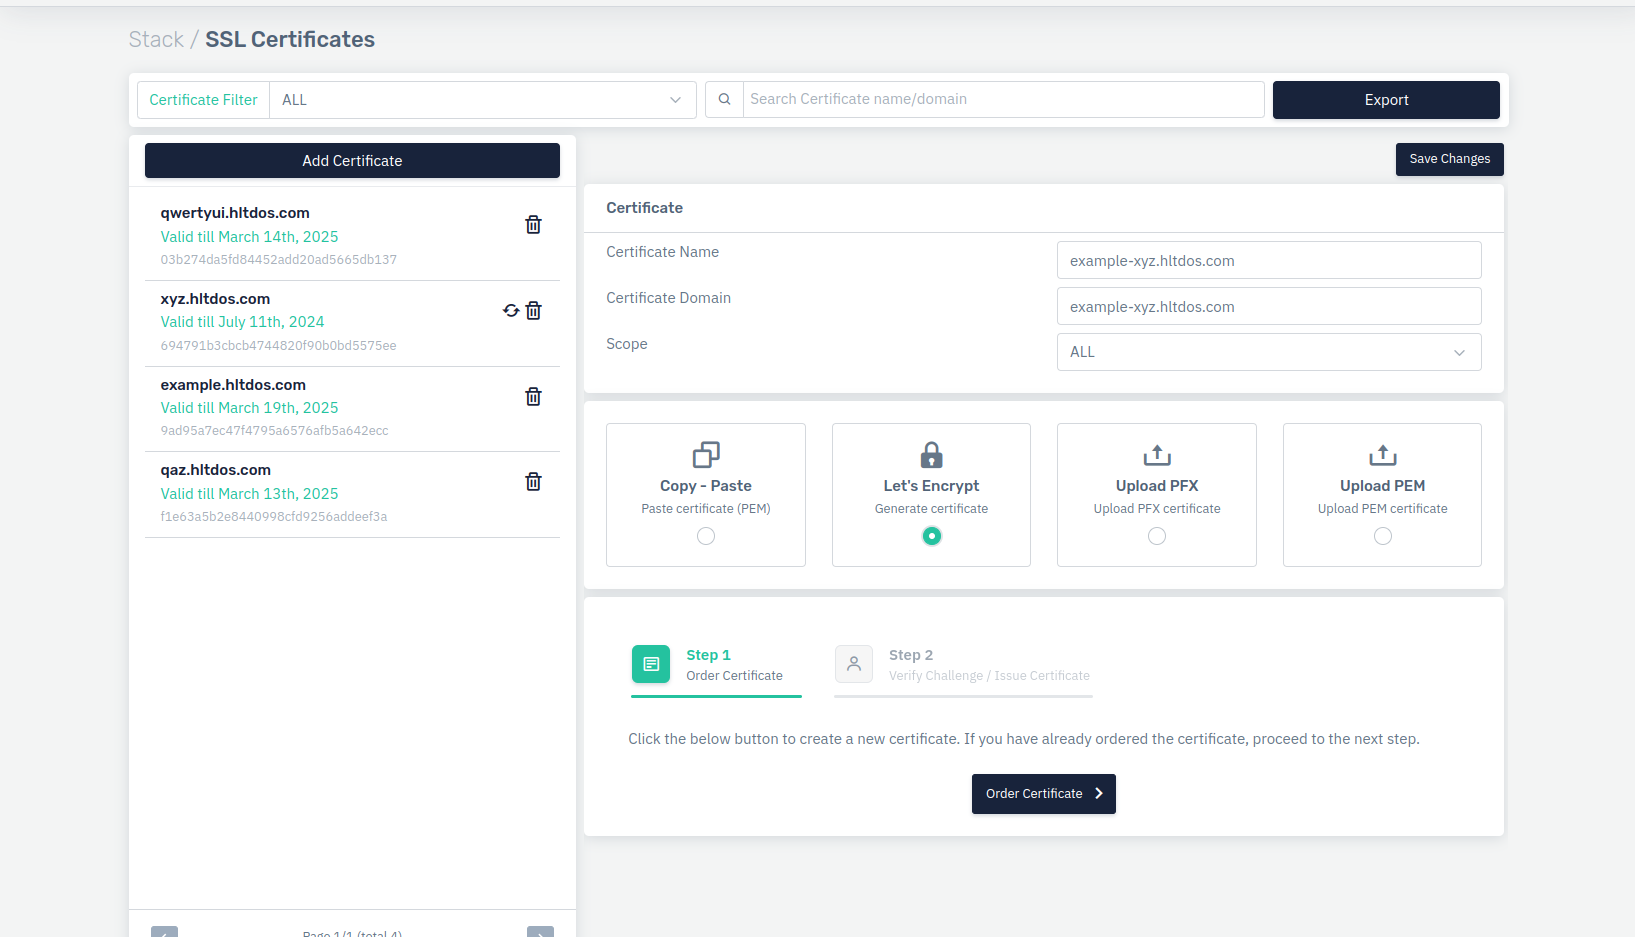
Click on Add Certificate
-
Enter certificate information as follows:
-
Certificate Name: User friendly name of the SSL scertificate
Accepted Value: String

Default: Blank -
Certificate Domain: Enter (single or wildcard) FQDN of the SSL certificate.
Accepted Value: String

Default: Blank
- Example haltdos.com, *.haltdos.com
- Scope: Select visibility of the SSL certificate to target resource such as FQDN or ALL.
-
Click on Let's Encrypt to generate certificate
-
Click on Order Certificate
Keep login session and SSL certificate tab to verify challenge.
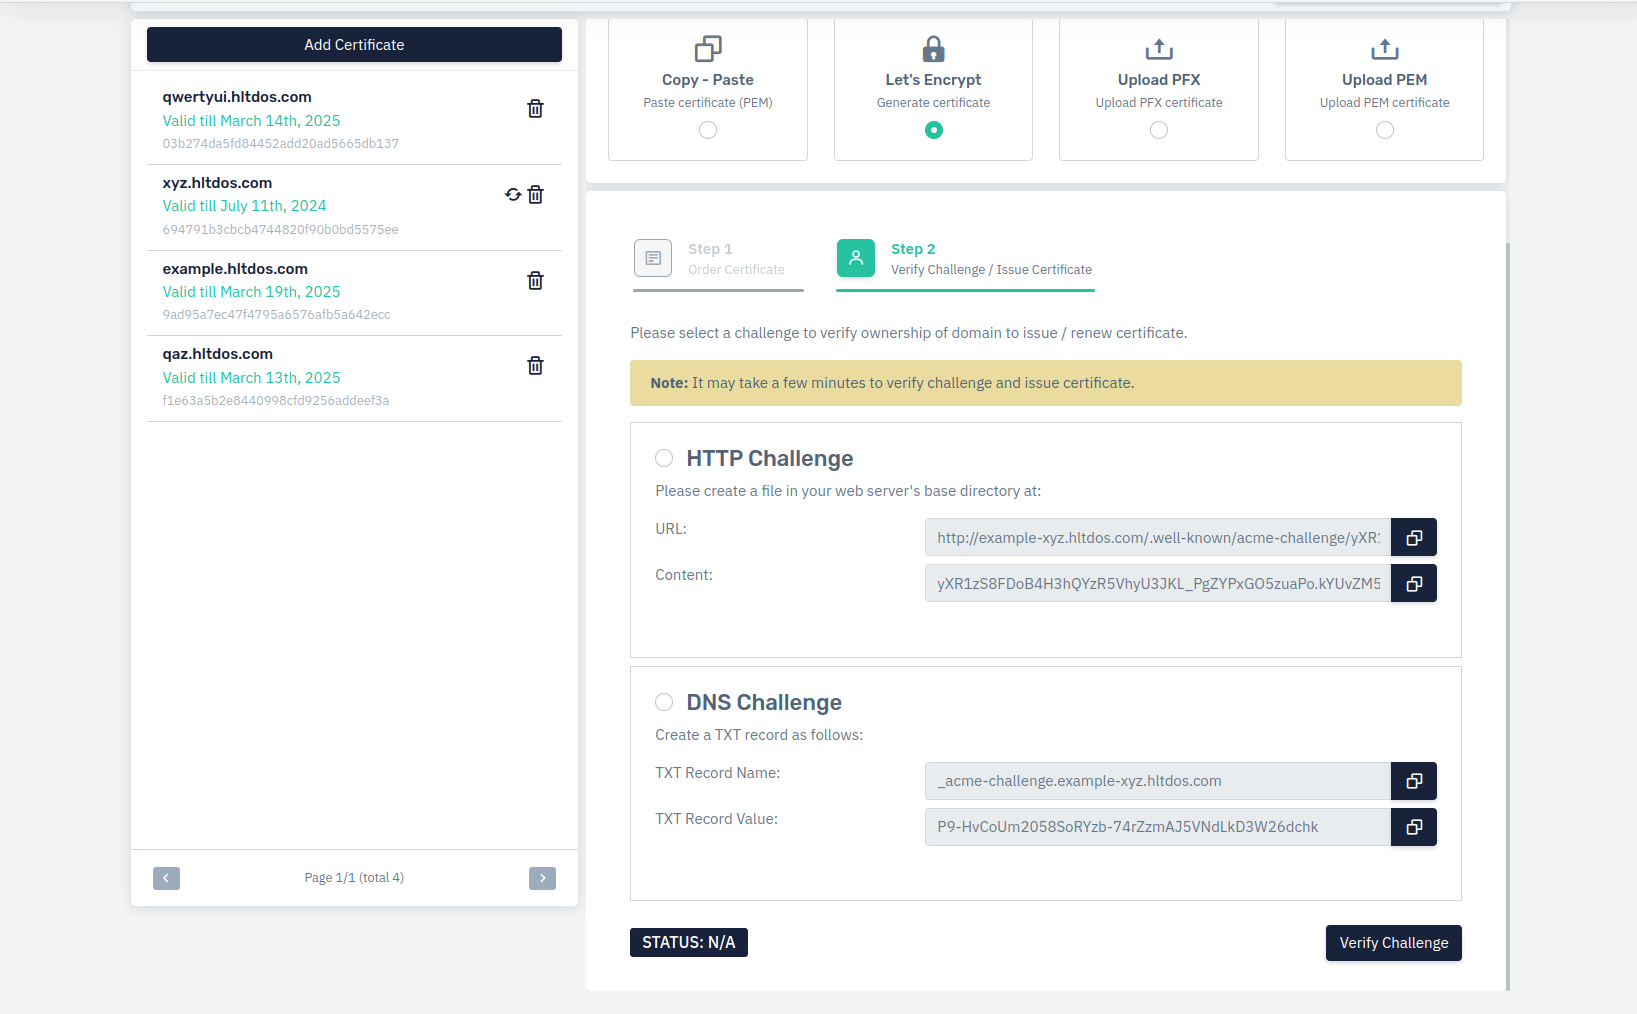
- Choose Let'ts Encrypt challenge
-
For DNS challenge, login to DNS console and issue provided DNS record.
-
Login to DNS console
-
Create TXT record with mentioned name and value.
TXT record should be create while exclusion root domain name.
For example,
TXT Record Name: _acme-challenge.example-xyz.haltdos.com
TXT Record Value: P9-HvCoUm2058
For this, we have to create DNS record as follows
| Record Type | Record Name | Record Value |
|---|---|---|
| TXT | _acme-challenge | P9-HvCoUm2058 |
DNS verification can be performed using command prompt or online DNS checker here.
-
For windows, use nslookup command
nslookup -type=TXT _acme-challenge.example-xyz.haltdos.com -
For Linux, use dig command
dig TXT _acme-challenge.example-xyz.haltdos.com
Once metioned record value is visible in the public DNS reponse, click on issue certificate. Go to Step 5
For this demonstration, we will proceed with HTTP challenge. For this, we have to perform WAF policy changes to issue SSL certificate.
For wildcard domain, only DNS based verification supported
- Changes for HTTP challenge verification
For HTTP challenge verification, we have to create below changes
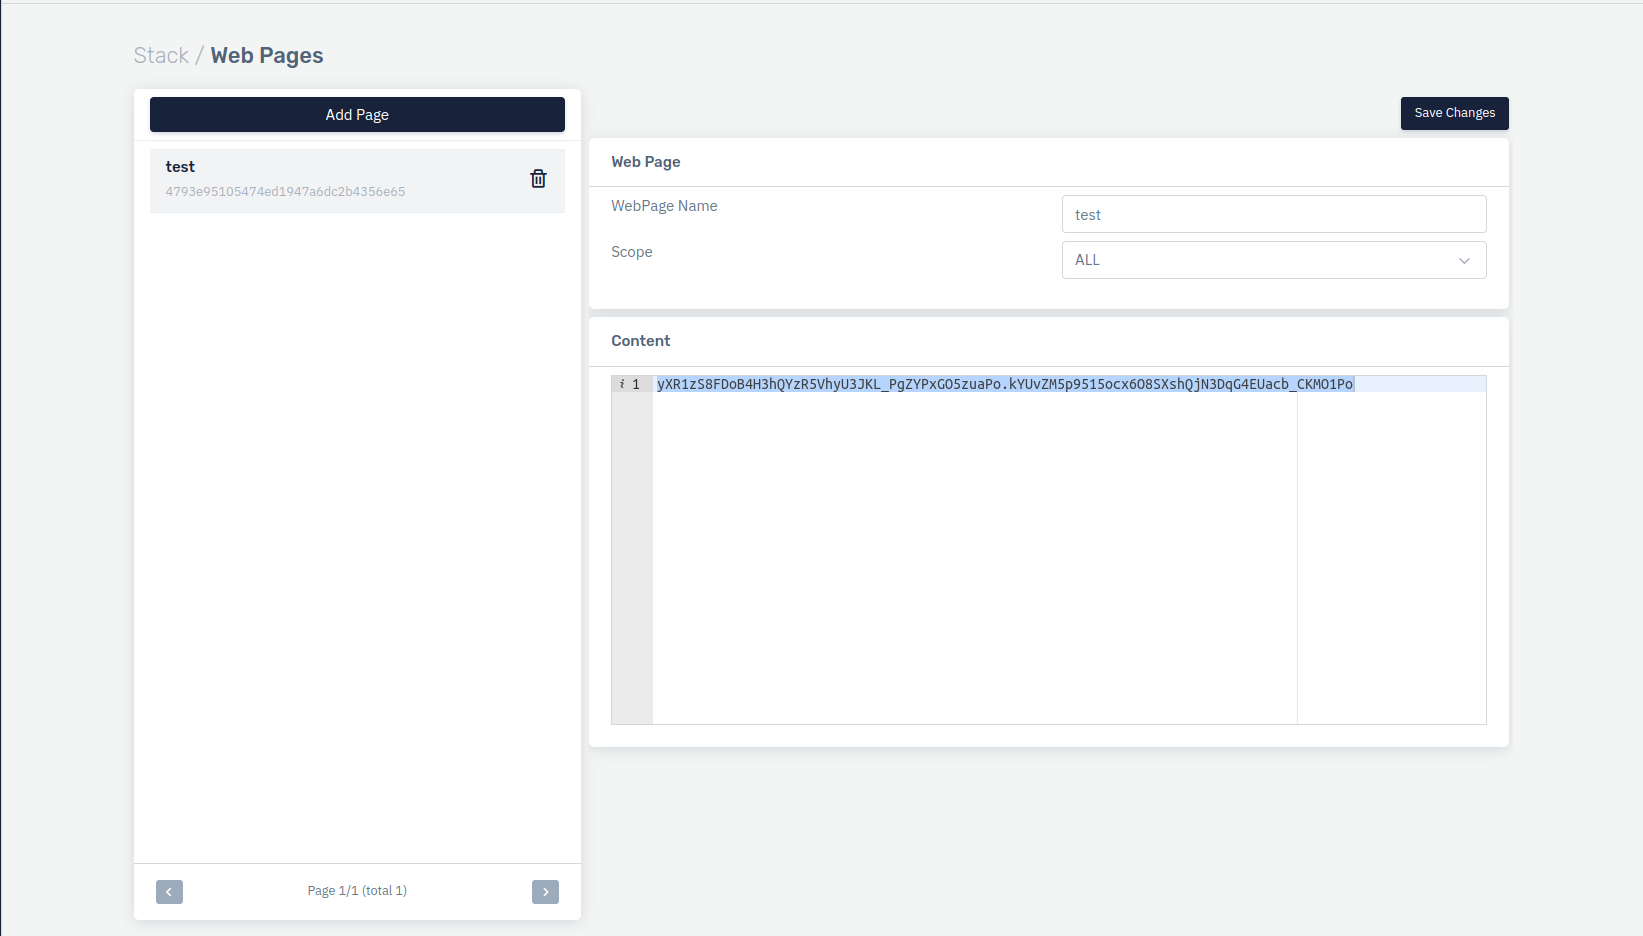
- Create Web Page with challenge response. To create web page, enter below information.
- WebPage Name - User friendly name
- Scope - Choose scope of the content to listener
Paste HTTP challenge content value in the web page and click on Save Changes.
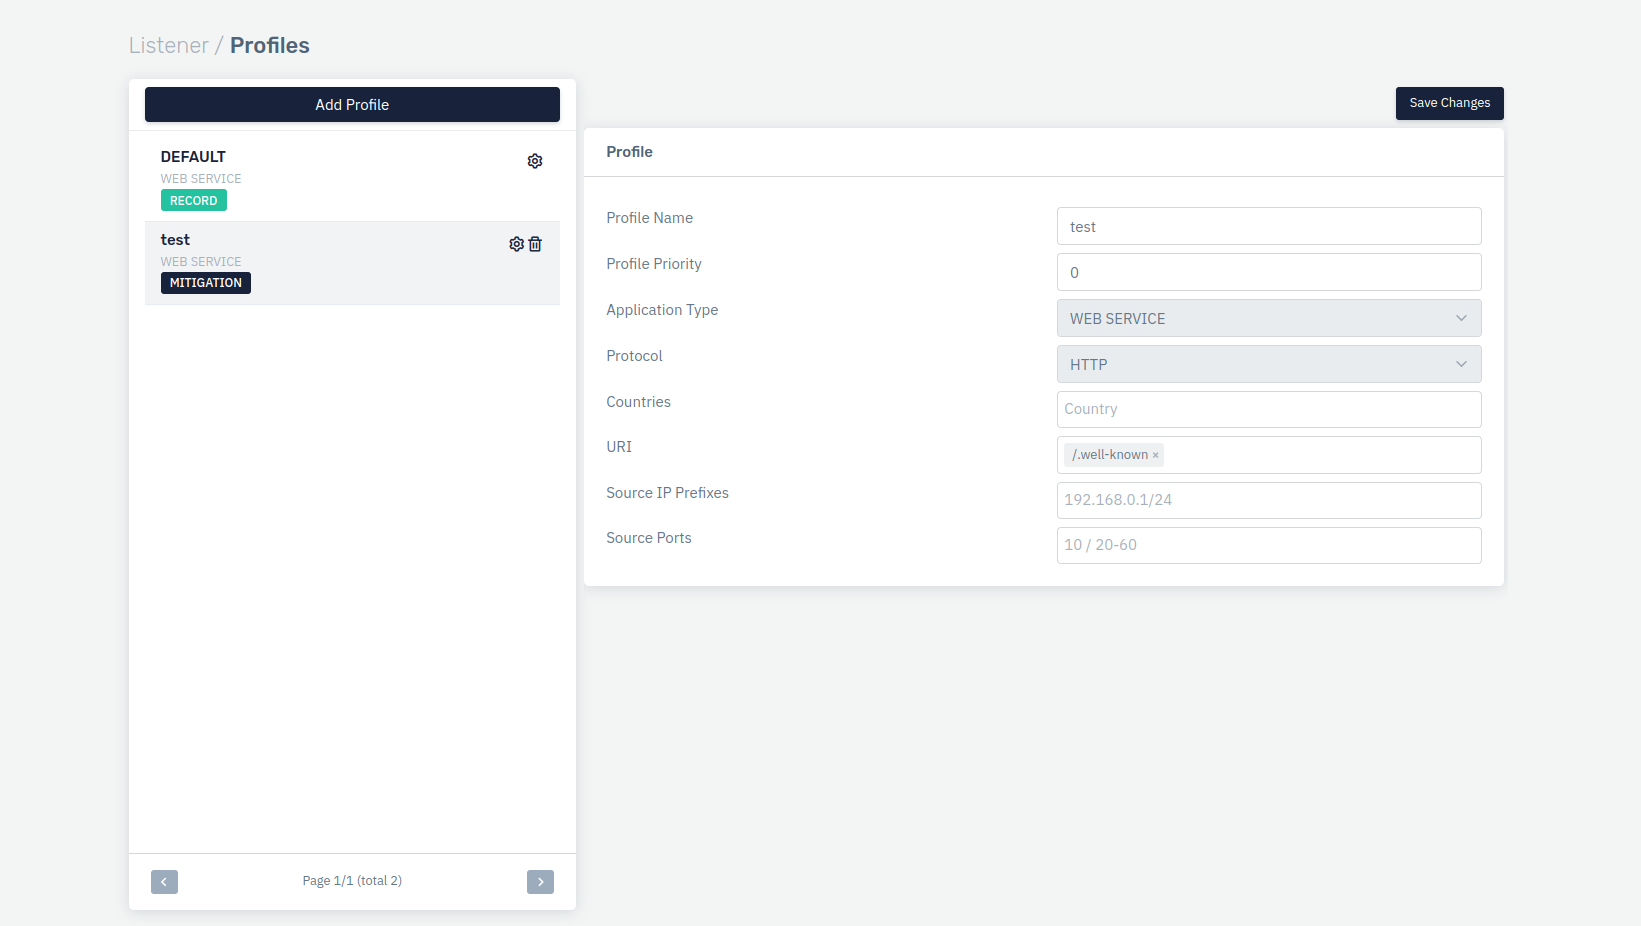
- Create custom security profile in the MITIGATION mode
- Go to Apps > WAF > [Select Listener/FQDN] > Security Profiles
-
Create custom security profile with below filter
Property Name Property Value Profile Name SSL Challenge Profile Priority 0 URI ^\/\.well-known\/ Application Type WEBSERVICE -
Click on Save Changes.
-
Click on Gear icon on the security profile named as SSL Challenge.
-
Disable Signature Validations
-
Change Operation Mode to MITIGATION
-
Click on Save Changes
-
Go to Rules > Firewall Rules
-
Create firewall policy as follows
Property Name Property Value Rule Name SSL Challenge Rule Description SSL Challenge Rule Priority 0 URI .* Method ALL Rule Action Send Custom Response Match Condition Pattern Exists Match Pattern .* -
Click on Save Changes.
If Redirection policy exists for HTTP to HTTPs or external URL on WAF, perform below change
Change Match URL parameter:
^http://example-xyz.hltdos.com/(.*)$
to
^http://example-xyz.hltdos.com/(?!\.well-known\/)(.*)$
- Verify challenge , copy the URL from the Challenge page and open it in the browser.
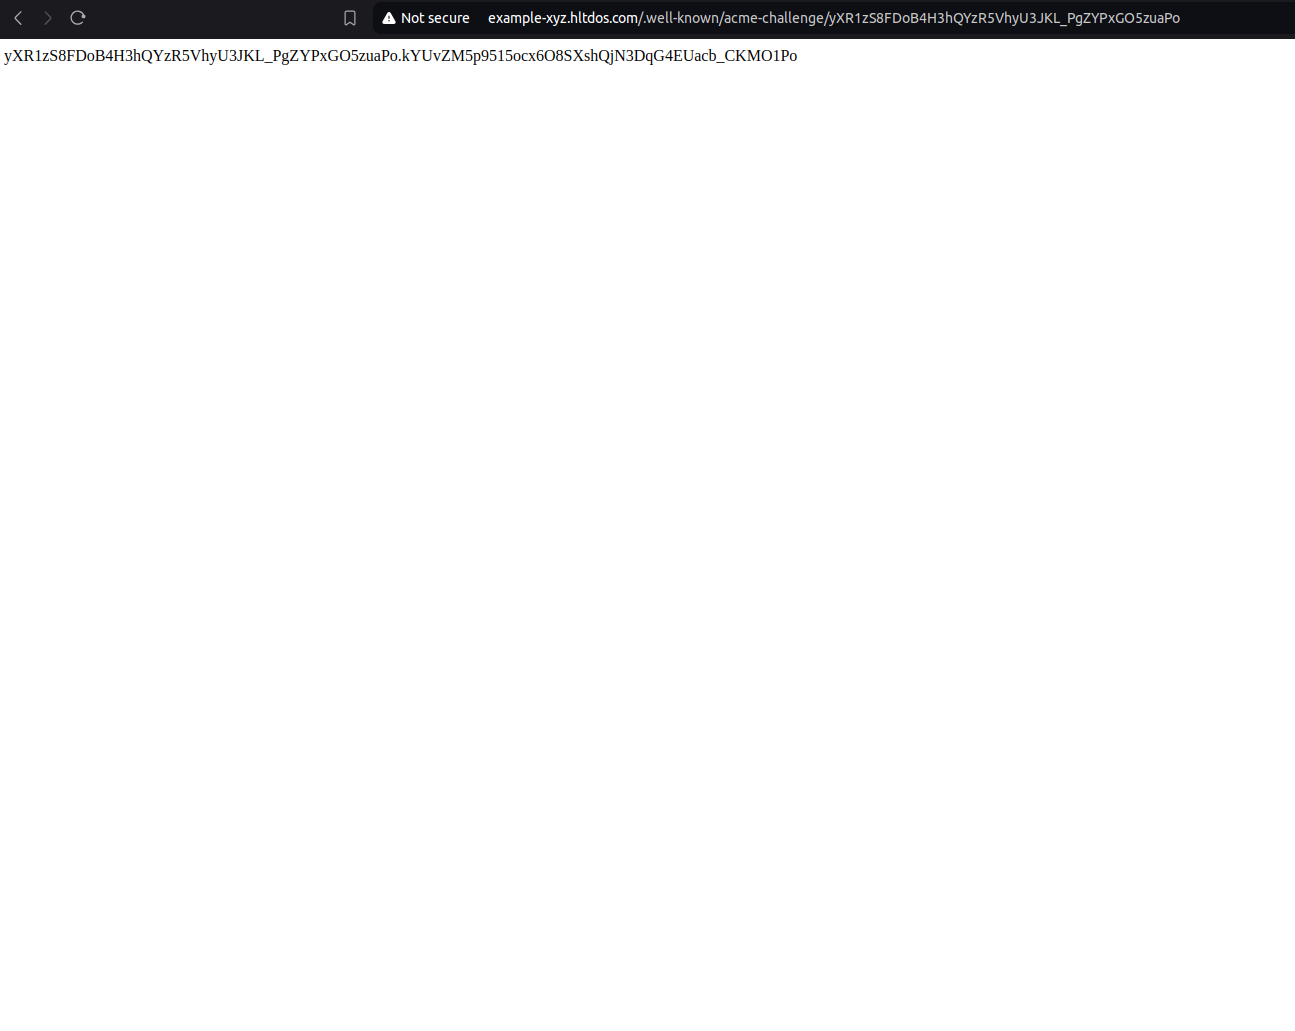
- Click on verify challenge and wait for challenge completion.
- We have succesfully issued certificate from Let's Encrypt.
-
Remove changes after challenge verification
Remove configuration change or DNS record. -
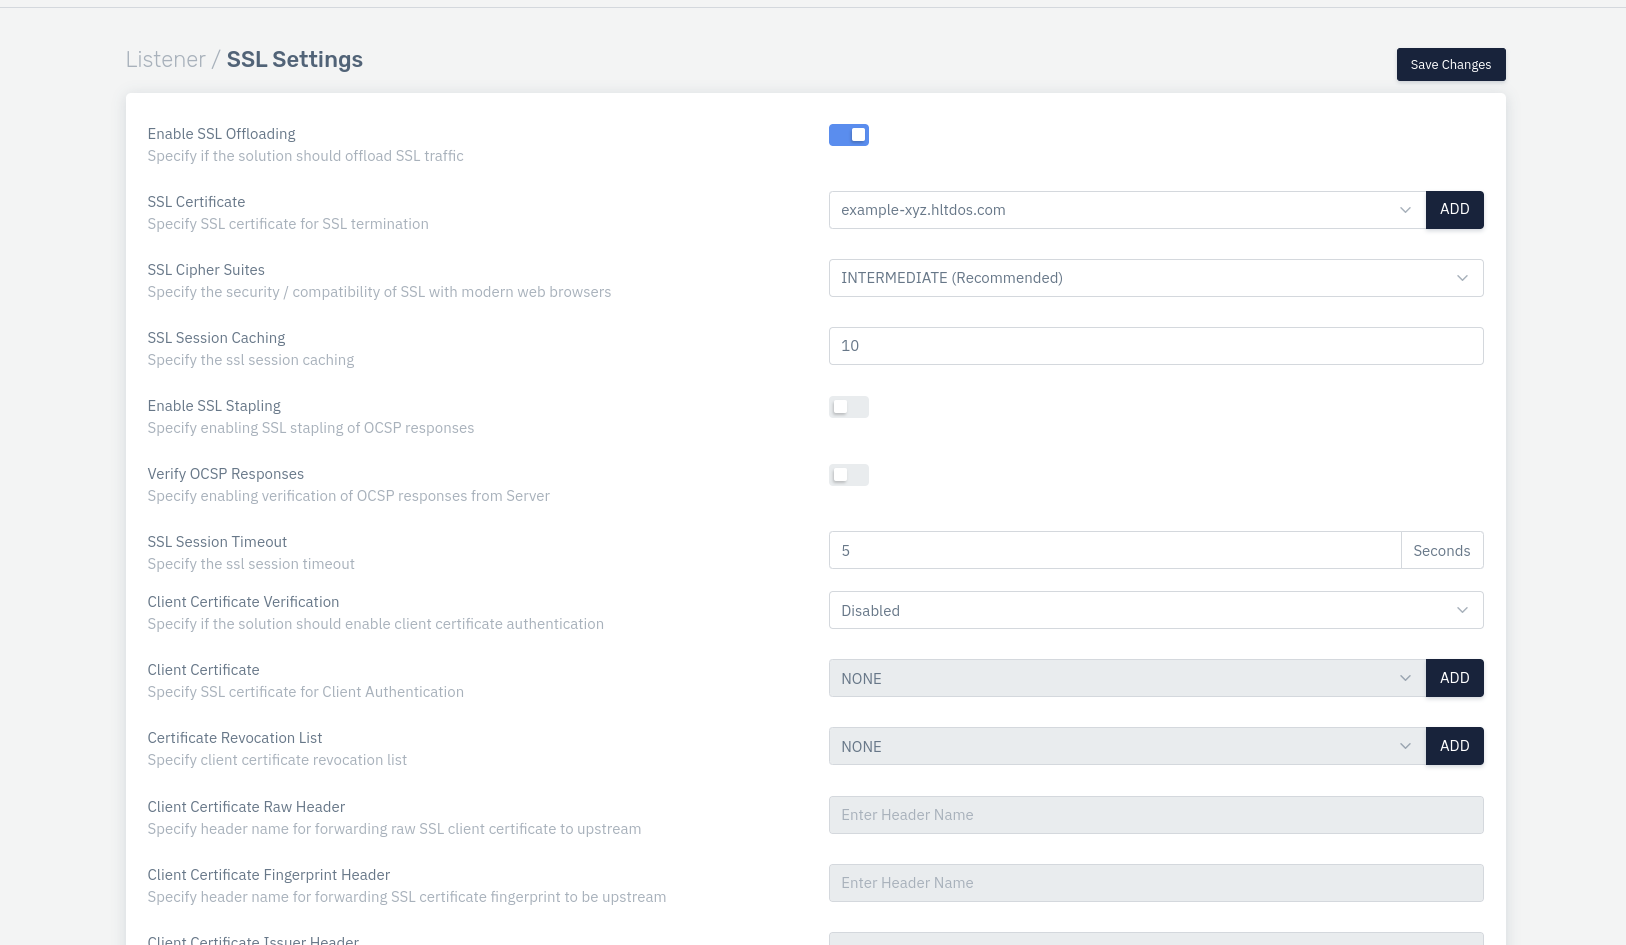
Attach issued SSL certificate:
-
Go to Apps > WAF > [Select Listener Name] > SSL Settings.
-
Update SSL certificate under SSL Settings of the listener and click on Save changes.
- Verify SSL certificate