SSL Certificates
It provides functionality to support SSL offloading based on configurations.
Overview
An SSL certificate is a few lines of code on your web server that provides security for online communications. When a web browser contacts your secured website, the SSL certificate enables an encrypted connection. It's kind of like sealing a letter in an envelope before sending it through the mail.
Haltdos platform supports SSL certificate management that allows customers to upload their existing SSL certificates or create new certificates using Let's Encrypt. The platform periodically checks the validity of the certificate and notifies users when the renewal is 2 weeks away from due date. If the certificate was created by Let's Encrypt, Haltdos platform automatically renews the certificate without requiring human intervention.
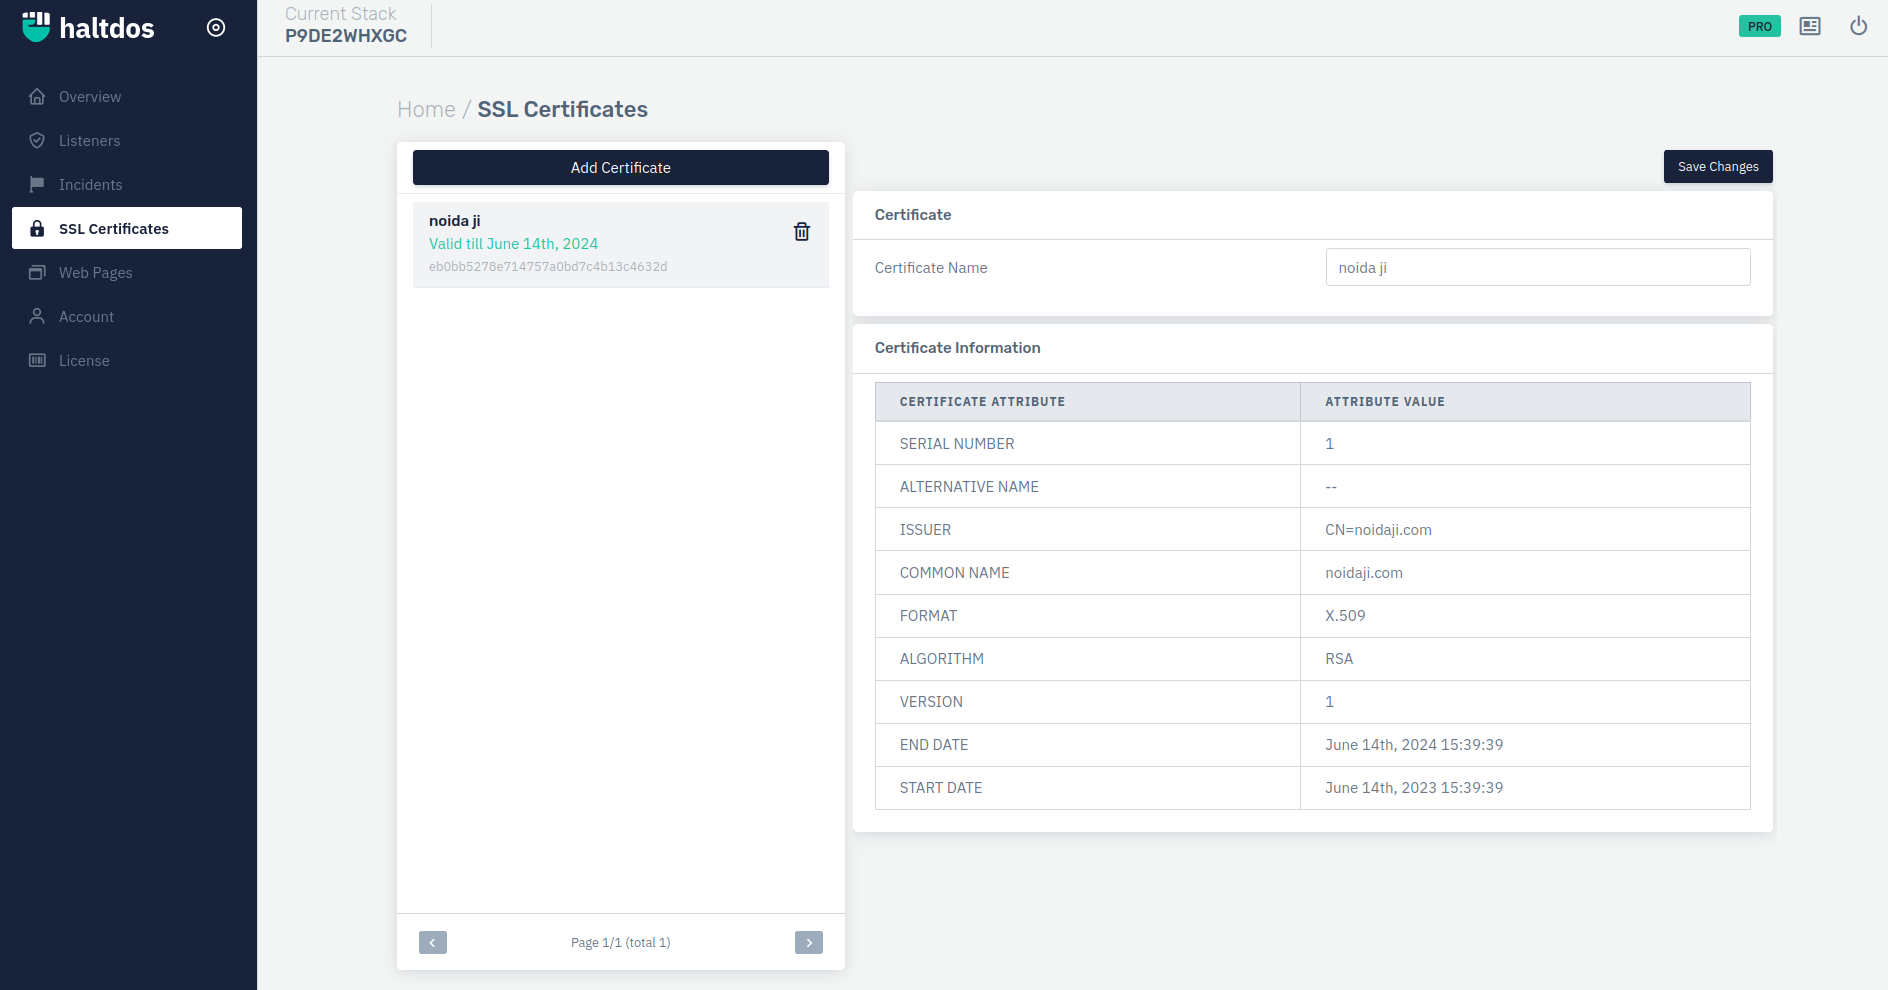
How to Use:
- Log into the Haltdos WAF Professional edition web UI console.
- Select SSL Certificates from the sidebar menu.
- Configure Your Settings
- Click Save Changes
Users can either upload a certificate or generate a new certificate with Let's Encrypt for their FQDN. For successfully generating Let's Encrypt certificate, you will have validate ownership of those domains. The solution supports 2-types of validations:
- HTTP Validation for single domain certificate
- DNS Validation for wildcard certificate
Generate Certificate
In order to generate a certificate, it's a three-step based process i.e.
- Order Certificate : Select the listener/zone for which you need to order the certificate.
- Verify Challenge : Verify the challenge for generating the certificate.
- Issue/Renew Certificate : Upon verifying the challenge, the user can click on the Issue/Renew certificate accordingly.
Let's Encrypt certificate are valid for 3 months only. In order to renew, we have to re-issue the certificate with the same steps as mentioned above.
Step 1: Order Certificate
- Select the domain that we are aiming to issue for it.
- Click on Generate.
Step 2: Verify Challenge
- Select appropriate challenge option i.e. HTTP Challenge or DNS Challenge.
- Click on Verify Challenge.
- We have to wait at least 5 minutes duration in order to re-verify the certificate to change the status to update status.
- After 5 minutes, click on Verify Challenge.
Step 3: Issue/Renew Certificate
- Click on Issue/Renew Certificate.
Certificate verification can fail if verification is not completed within stipulated time.
Upload Certificate
To upload custom certificates, follow the steps below:
| Parameters | Accepted value | Default |
|---|---|---|
| Name | String | Blank |
| Domain | String | Blank |
| App Option | Drop-down | Generate/upload certificate |
| Public Key | String | Blank |
| Private key | String | Blank |
Description
Certificate Name
Users are allowed to specify the name for the certification.
Certificate Domain
Users are allowed to specify the domain name of the certificate.
App Option
Users are allowed to select the certificate generate options.
Public Key
User can specify the public key of certificate.
Private key
User can specify the private key of certificate.